Add a user account
-
Click
Settings (
 ) > Configure.
-
Scroll to the Database Administration section, then click
Admin Interface.
If you are prompted to Sign in, use your ionadmin account.
The link opens the Site administration page.
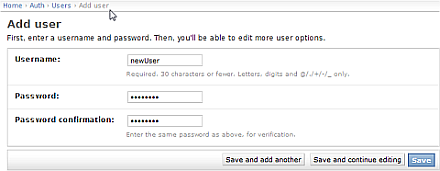
- Click Add on the Site administration menu for Users.
- Enter a Username and Password Enter the password again in Password confirmation.
-
Select one of the following
Save options to complete adding the new user:
-
-
Save and add another select this option to save the new user, then return to the Add user page to create another user.
-
Save and continue editing select this option to return to the Change user page complete adding the new user.
-
Save select this option to save the new user, then return to the Change user page and (Optional) add or change user settings.
-
-
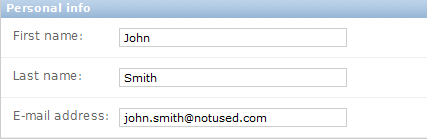
(Optional) In the Personal info dialog, enter a First name, Last name, and E-mail address:
-
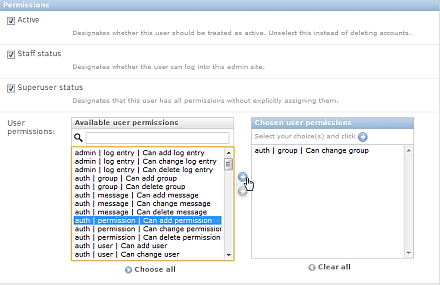
(Optional) In the Permissions dialog, check Active, Staff status and Superuser status checkboxes, if needed, and select the wanted User permissions:
Checkbox
Description
Designates whether or not this user is treated as active. The recommended method is to deselect this item instead of deleting this account.
Designates whether or not this user can Sign in to this administration site.
Designates that this user has all permissions without explicitly assigning them.
Select User permissions in one of the following ways in User permissions:
-
Enter a string in the search window. All permissions matching the string are displayed, from which you may select permissions by highlighting the permissions and clicking the right arrow, in the center.
-
Scroll through the permissions list. Highlight the wanted permission and click the right arrow to select the highlighted permission. Also hold down the control key to select more than one permission.
-
Click Choose all at the bottom of the dialog, to highlight all available permissions, and click the right arrow to select all permissions. To deselect any permission, highlight selected permissions, in the right window, or click Clear all followed by clicking the left arrow.
-
-
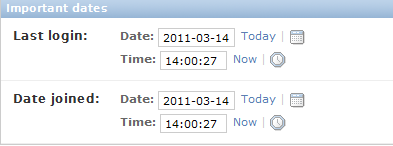
(Optional) Set the Last login and Date joined times, manually or using the calendar and clock icons. Click Today and Now to set the values to the current date and time:
-
(Optional) Click the plus sign to display the Groups dialog.
-
- Click Save to complete adding the new user.